Hello! Here is a simple card I made using a cute cherry stamp from Studio G. I paper pieced the cherries using scraps. The background is embossed with the Swiss Dots embossing folder from Cuttlebug. The sentiment is also from Studio G. Haven't had too much time to be creative with paper lately...spending time setting up my classroom, then starting school. Thanks for looking and have a great day!
Sunday, September 12, 2010
Cherry card
Hello! Here is a simple card I made using a cute cherry stamp from Studio G. I paper pieced the cherries using scraps. The background is embossed with the Swiss Dots embossing folder from Cuttlebug. The sentiment is also from Studio G. Haven't had too much time to be creative with paper lately...spending time setting up my classroom, then starting school. Thanks for looking and have a great day!
Sunday, August 22, 2010
Quick Thank You
Hi! I have a quick thank you card to share today. This card came together quite easily...isn't it funny how sometimes you can spend so much time on a card and cannot get it to work. Other times everything falls into place exactly the way you want it. Maybe the fact that I knew exactly who I was making this card for, made it so easy. : ) All of the paper is from Michaels; I used the button embossing strip from Cuttlebug. Thanks for looking and have a great day!
Saturday, August 14, 2010
Clearly Inspired Challenge #16 Cute and Fuzzy
Here is my card for the Clearly Inspired Challenge: Cute and Fuzzy. What is more cute than a little white bunny?? And what can make you feel more warm and fuzzy than a hug?? I layered the bunny image to give it dimension; the flower is cut from white felt. I embossed the background paper, even though it is patterned paper, embossing gives it a little more character.
Here is a close up view of the tag and flower. Thanks for looking and have a great day!
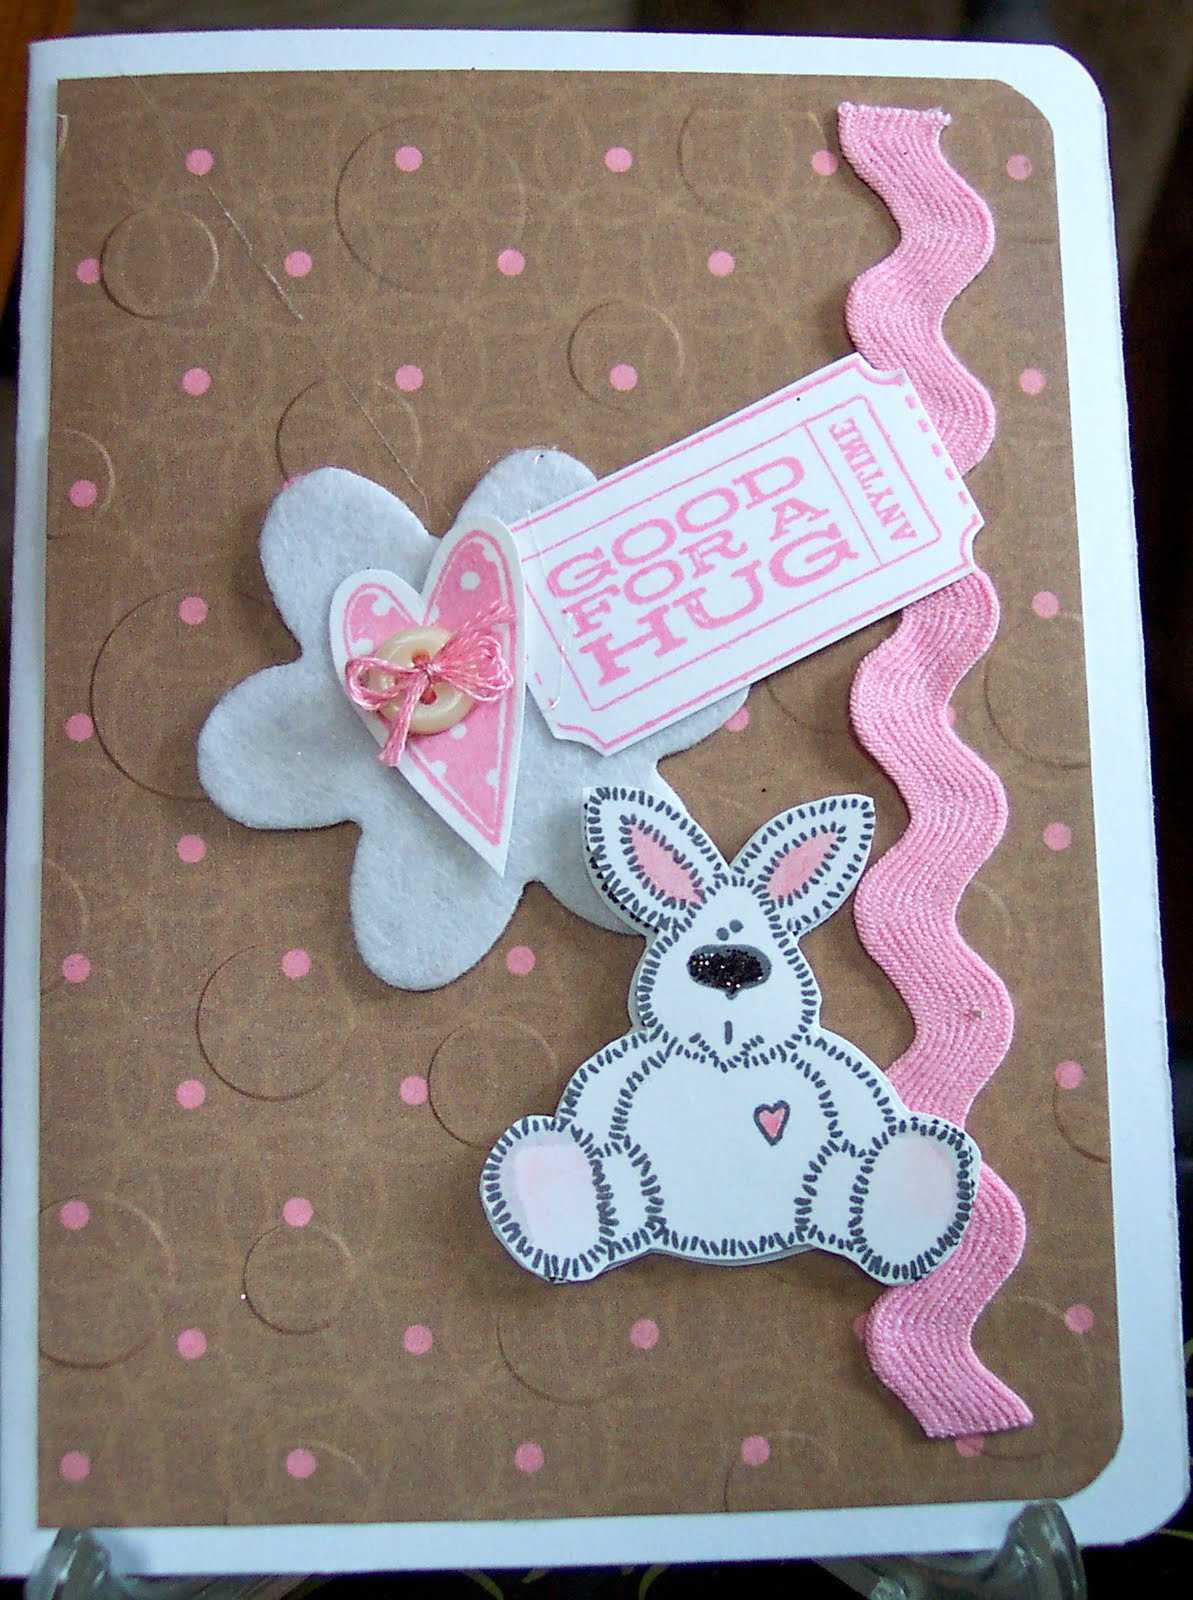
Stamps: Bunny, Provo Craft; Heart, Studio G; Ticket...I think it's from Hero Arts, but I am not sure...sorry!
Other supplies: Background paper, Paper Studio; rick rack, button, embroidery floss, Sizzix large daisy die, Quick Kutz embossing folder
Friday, July 23, 2010
3 Christmas Cards
Hello! I have three very simple Christmas cards to share with you today. They are for a project my sister is working on. : ) They are pretty basic, as you can see...a printed background and stamped image in front. Lots of blogs out there are doing Christmas in July, so maybe this fits right in! Thanks for looking and have a great day!
Wednesday, July 21, 2010
Red and Tan Christmas Card
Hello! I have another "vintagey" (if there really is such a word!) card to share with you today. I used the same gingham background stamp I used in my last post. I stamped it with brown ink on craft cardstock. I stamped the sentiment on seam binding and used Spellbinders dies for the snowflakes. I distressed the tag with tea dye ink, too.
Thanks for looking and have a great day!
Sunday, July 18, 2010
Clearly Inspired Challenge #15: Gratitude
Hello! Here is the card I created for this month's Clearly Inspired Challenge. I really wanted to give the card a vintage look and ended up using a lot of pink and brown. The green crochet flower gives it just a little pop of color. Supply list: craft card stock, Rouge chalk ink by Color Box, tea dye distress ink by Tim Holtz, buttons, and ribbon. Stamps used: Gingham background from The Angel Company; flower from My Mind's Eye (LOVE this stamp!!), tickets from Studio G, thank you sentiment from Clear Dollar Stamps, and vintage note block from See d's. I made the green flower myself; you can see more about that here. : ) I use embroidery floss to crochet them. You can make them in any color!! Love it!! Thanks for looking and have a great day!
Wednesday, July 14, 2010
DRS Designs July Sketch Challenge!
Hello! I made this card for the DRS Designs July Sketch Challenge. The roasting marshmallow is a DRS Designs stamp; background and sentiment stamps are from Inky Antics. I used chalk around the marshmallow to give it that campfire "glow." (It might be kind of hard to see in the photo.) I also added some stickles to the marshmallow and to the fire; sponged the edges of the layers with white ink. Thanks for looking and have a super day!
Subscribe to:
Posts (Atom)